Access Raspberry Pi With Public IP: Your Ultimate Guide
So, you’ve got this Raspberry Pi sitting on your desk, and you’re wondering how to access it from anywhere in the world using a public IP address. Let’s face it, the possibilities are endless—remote monitoring, home automation, or even running a server. But where do you start? Don’t worry, we’ve got you covered.
Accessing your Raspberry Pi via a public IP might sound like a tech wizard’s trick, but trust me, it’s simpler than you think. In this guide, we’ll break down everything you need to know, step by step, so even if you’re a total beginner, you’ll be up and running in no time. And hey, we’ll make sure it’s secure too—because the last thing you want is some random hacker messing with your setup.
Now, before we dive deep into the nitty-gritty, let’s talk about why this is such a big deal. Imagine being able to control your smart home devices from the other side of the planet or accessing your files without needing to carry an external drive. Yeah, it’s that cool. So buckle up, because we’re about to take your Raspberry Pi game to the next level.
- Denise Richards Nude A Candid Look At Misinformation Privacy And The Importance Of Respect
- Evanna Lynch Nude Setting The Record Straight And Celebrating An Iconic Star
What You Need to Know About Public IP and Raspberry Pi
Before we get our hands dirty, let’s clear up some basics. When we talk about accessing Raspberry Pi with a public IP, we’re essentially talking about connecting to your Pi over the internet. A public IP is like your house address on the internet—it’s unique and allows devices outside your local network to find and connect to your Pi.
Why Use a Public IP?
Using a public IP opens up a world of possibilities. Here are a few reasons why you might want to go this route:
- Remote Access: Whether you’re at work, on vacation, or just chilling at a coffee shop, you can connect to your Pi anytime, anywhere.
- Home Automation: Control your smart home devices from afar, like turning off the lights or adjusting the thermostat.
- File Sharing: Access your files and media library without needing cloud storage.
- Running Servers: Set up your own web server, game server, or media server and make it accessible to the world.
Is It Safe to Use a Public IP?
Great question! Security is always a concern when exposing your devices to the internet. The good news is that with the right precautions, you can make it super secure. We’ll talk about firewalls, port forwarding, and SSH keys later, so don’t sweat it too much right now.
- Gia Duddy Nudes Unveiling The Truth Behind The Clickbait
- Livvy Dunne Nudes Separating Facts From Fiction In The Digital Age
Setting Up Your Raspberry Pi for Public IP Access
Alright, let’s get to the fun part. Setting up your Raspberry Pi for public IP access involves a few key steps. Don’t worry if it sounds complicated—we’ll walk you through each one.
Step 1: Gather Your Tools
Before we begin, make sure you have the following:
- A Raspberry Pi (any model will do).
- A stable internet connection.
- A router with port forwarding capabilities.
- An SSH client (like PuTTY for Windows or Terminal for Mac/Linux).
Step 2: Find Your Public IP Address
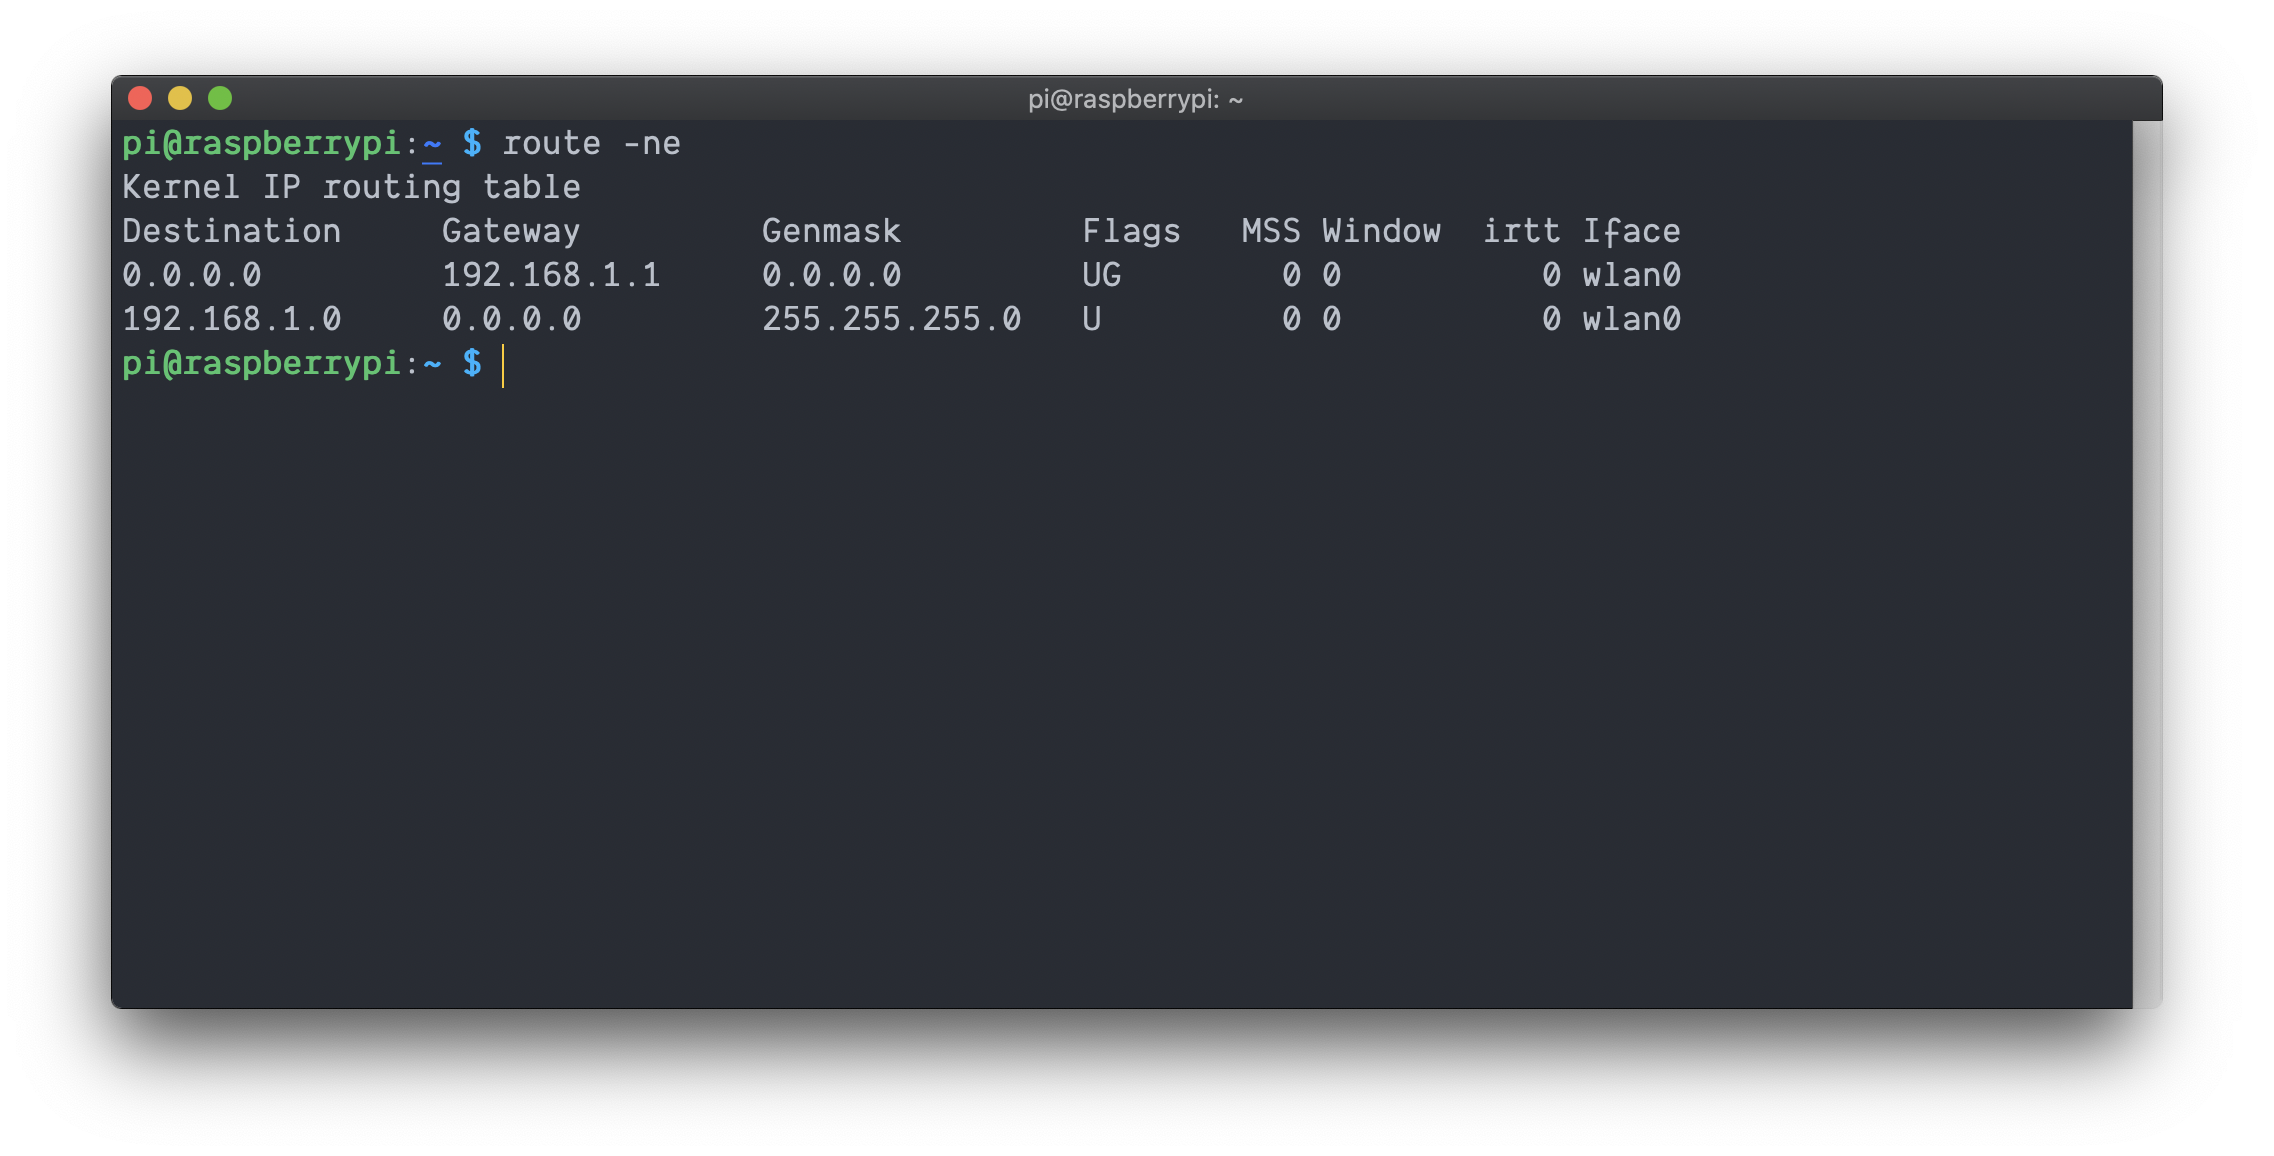
Your public IP address is the one assigned to your router by your ISP. You can easily find it by searching “what is my IP” on Google. Write it down—we’ll need it later.
Step 3: Configure Your Router
This is where things get a little technical, but stay with me. You’ll need to log into your router’s admin panel and enable port forwarding. This tells your router to direct incoming traffic on a specific port to your Raspberry Pi.
Here’s how you do it:
- Log into your router’s admin interface (usually by typing 192.168.0.1 or 192.168.1.1 in your browser).
- Find the port forwarding section (it might be called “virtual servers” or something similar).
- Add a new rule, specifying the port number (usually 22 for SSH) and the local IP address of your Raspberry Pi.
Securing Your Raspberry Pi
Now that your Pi is exposed to the internet, it’s crucial to lock it down. Here are a few tips to keep your setup secure:
Enable SSH and Use Key-Based Authentication
SSH (Secure Shell) is the most common way to remotely access your Raspberry Pi. By default, SSH uses passwords, but using key-based authentication is much safer.
Here’s how to set it up:
- Generate an SSH key pair on your computer.
- Copy the public key to your Raspberry Pi.
- Disable password authentication in the SSH config file.
Set Up a Firewall
A firewall acts as a barrier between your Pi and the outside world, blocking unauthorized access. On Raspberry Pi, you can use ufw (Uncomplicated Firewall) to set up basic rules.
Here’s a quick example:
- Install ufw:
sudo apt install ufw. - Allow SSH:
sudo ufw allow 22. - Enable the firewall:
sudo ufw enable.
Using Dynamic DNS for Easy Access
One issue with public IPs is that they can change over time, depending on your ISP. To avoid this headache, you can use Dynamic DNS (DDNS). DDNS assigns a hostname to your public IP, so you don’t have to remember a string of numbers.
How DDNS Works
DDNS services automatically update your hostname whenever your public IP changes. Some popular options include No-IP, DuckDNS, and Dynu. Most of these services are free and easy to set up.
Troubleshooting Common Issues
Even with the best-laid plans, things can go wrong. Here are some common issues and how to fix them:
Can’t Connect via SSH
If you can’t connect to your Pi via SSH, check the following:
- Is your Raspberry Pi online?
- Did you configure port forwarding correctly?
- Are there any firewall rules blocking SSH traffic?
Public IP Keeps Changing
If your public IP keeps changing, consider using a DDNS service, as mentioned earlier. Alternatively, you can contact your ISP and request a static IP address, though this might come at an extra cost.
Advanced Tips for Power Users
Once you’ve mastered the basics, here are a few advanced tips to take your setup to the next level:
Set Up a Web Server
Turn your Raspberry Pi into a web server using software like Apache or Nginx. This allows you to host your own website or web applications.
Run a Media Server
Use software like Plex or Jellyfin to stream your media library to any device, anywhere in the world.
Monitor Your Home with a Security Camera
Connect a USB webcam to your Raspberry Pi and use software like MotionEye to monitor your home remotely.
Real-World Use Cases
Let’s talk about some real-world scenarios where accessing your Raspberry Pi with a public IP comes in handy:
Remote Workstation
Set up your Raspberry Pi as a remote workstation. You can access your files, run applications, and even stream your desktop from anywhere.
Smart Home Hub
Use your Pi as the brain of your smart home. Connect it to devices like smart lights, thermostats, and security cameras for complete control.
File Sharing Without Cloud
Tired of paying for cloud storage? Use your Raspberry Pi as a personal NAS (Network-Attached Storage) and share files securely over the internet.
Conclusion
And there you have it—a comprehensive guide on how to access your Raspberry Pi with a public IP. From setting up port forwarding to securing your device, we’ve covered all the essentials. Remember, the key to success is taking it one step at a time and not skipping the security measures.
Now that you’ve learned the ropes, it’s time to put your knowledge into action. Try out some of the advanced tips we mentioned and see what you can create. And don’t forget to share your experience in the comments below. Who knows, you might inspire someone else to take the leap!
Table of Contents
- Access Raspberry Pi with Public IP: Your Ultimate Guide
- What You Need to Know About Public IP and Raspberry Pi
- Why Use a Public IP?
- Is It Safe to Use a Public IP?
- Setting Up Your Raspberry Pi for Public IP Access
- Step 1: Gather Your Tools
- Step 2: Find Your Public IP Address
- Step 3: Configure Your Router
- Securing Your Raspberry Pi
- Enable SSH and Use Key-Based Authentication
- Set Up a Firewall
- Using Dynamic DNS for Easy Access
- Troubleshooting Common Issues
- Can’t Connect via SSH
- Public IP Keeps Changing
- Advanced Tips for Power Users
- Set Up a Web Server
- Run a Media Server
- Monitor Your Home with a Security Camera
- Real-World Use Cases
- Conclusion

Detail Author:
- Name : Stacy Botsford
- Username : stehr.marley
- Email : okonopelski@gmail.com
- Birthdate : 1970-02-18
- Address : 835 Maxwell Alley South Leannafort, MI 50076-8522
- Phone : 458-593-9540
- Company : Franecki, Beier and Kessler
- Job : Director Of Business Development
- Bio : Animi omnis optio aspernatur quam. Itaque aut voluptatibus cupiditate. Dolore quis enim blanditiis et ipsum possimus.
Socials
twitter:
- url : https://twitter.com/robin_official
- username : robin_official
- bio : Corrupti sint laboriosam rerum velit ut et ut. Enim aliquam nulla voluptatem tenetur ipsum. Deserunt repudiandae voluptas nemo voluptatem dolorem.
- followers : 2780
- following : 1553
instagram:
- url : https://instagram.com/robin930
- username : robin930
- bio : Velit magni mollitia maxime velit soluta cum. Autem voluptates vel et.
- followers : 211
- following : 1594
