Raspberry Pi IoT VNC Viewer Free: Your Ultimate Guide To Remote Access
Are you ready to dive into the world of Raspberry Pi IoT and VNC Viewer free? Imagine being able to control your Raspberry Pi remotely from anywhere in the world without breaking the bank. It’s like having a personal assistant that works on your terms, no matter where you are. This guide will walk you through everything you need to know about setting up VNC Viewer on your Raspberry Pi for IoT projects. So buckle up, because we’re about to get our tech on!
Let’s face it, IoT (Internet of Things) is everywhere these days. From smart homes to industrial automation, the possibilities are endless. And when it comes to managing your IoT devices, having a reliable remote access solution is crucial. That’s where Raspberry Pi IoT VNC Viewer free comes into play. It’s like the Swiss Army knife of remote control tools, giving you the power to manage your projects with ease.
But why stop there? In this article, we’ll not only cover the basics but also dive deep into the nitty-gritty details of setting up VNC Viewer on your Raspberry Pi. Whether you’re a beginner or a seasoned pro, this guide will have something for everyone. So grab a cup of coffee, sit back, and let’s get started!
- Michelle Mylett Nude Separating Facts From Fiction And Understanding The Bigger Picture
- Melissa Oneil Nude Facts Myths And The Truth Behind The Controversy
What is Raspberry Pi IoT?
First things first, let’s talk about what Raspberry Pi IoT actually is. The Raspberry Pi is a tiny yet powerful computer that’s perfect for DIY projects, home automation, and even professional applications. When you combine it with IoT, you’ve got yourself a powerhouse of innovation. Think of it as a mini-computer that can connect to the internet and control other devices remotely. Cool, right?
IoT stands for Internet of Things, and it’s all about connecting devices to the internet so they can communicate with each other. With Raspberry Pi IoT, you can create smart devices that can be controlled from anywhere in the world. Whether it’s turning on your lights, monitoring your home security, or automating your garden irrigation system, the possibilities are endless.
Why Use Raspberry Pi for IoT?
There are tons of reasons why Raspberry Pi is the go-to choice for IoT enthusiasts. First off, it’s affordable. You can get a Raspberry Pi for less than the cost of a fancy coffee. Plus, it’s super easy to use, even for beginners. The community around Raspberry Pi is massive, so you’ll always find someone who’s willing to help you out if you get stuck.
- Corrina Kopf Naked The Truth Behind The Clickbait And Sensationalism
- Lexi Rivera Naked Understanding The Sensation Behind The Search
Another great thing about Raspberry Pi is its flexibility. You can use it for just about anything, from simple home automation projects to complex industrial applications. And with the right tools, like VNC Viewer, you can manage your Raspberry Pi remotely without ever having to touch it. Now that’s what I call convenience!
What is VNC Viewer Free?
So what exactly is VNC Viewer free? VNC Viewer is a remote access tool that lets you control one computer from another. It’s like having a pair of eyes and hands in two places at once. The free version of VNC Viewer is perfect for hobbyists and small-scale projects, offering all the features you need to get started without spending a dime.
With VNC Viewer free, you can access your Raspberry Pi from any device with an internet connection. Whether you’re using a laptop, smartphone, or tablet, you’ll be able to see and control your Raspberry Pi as if you were sitting right in front of it. It’s like magic, but better because it actually works!
How Does VNC Viewer Work?
VNC Viewer works by creating a connection between two devices over the internet. When you connect to your Raspberry Pi using VNC Viewer, you’ll see a live feed of its desktop, just like you would if you were sitting in front of it. You can move the mouse, type on the keyboard, and run programs as if you were physically there.
One of the coolest things about VNC Viewer is that it’s platform-independent. That means you can use it on Windows, macOS, Linux, and even mobile devices. And because it’s free, you don’t have to worry about breaking the bank to get started. It’s like having a superpower, but one that won’t cost you an arm and a leg.
Setting Up Raspberry Pi IoT VNC Viewer Free
Now that you know what Raspberry Pi IoT and VNC Viewer free are, let’s talk about how to set them up. The process is pretty straightforward, but there are a few steps you’ll need to follow to get everything up and running. Don’t worry, I’ve got you covered every step of the way.
Step 1: Install Raspbian OS
The first thing you’ll need to do is install Raspbian OS on your Raspberry Pi. Raspbian is the official operating system for Raspberry Pi, and it comes with everything you need to get started. You can download it from the official Raspberry Pi website and follow the instructions to install it on your SD card.
Once you’ve got Raspbian installed, boot up your Raspberry Pi and make sure everything is working properly. This is the foundation of your IoT setup, so take your time and make sure everything is set up correctly.
Step 2: Enable VNC Server
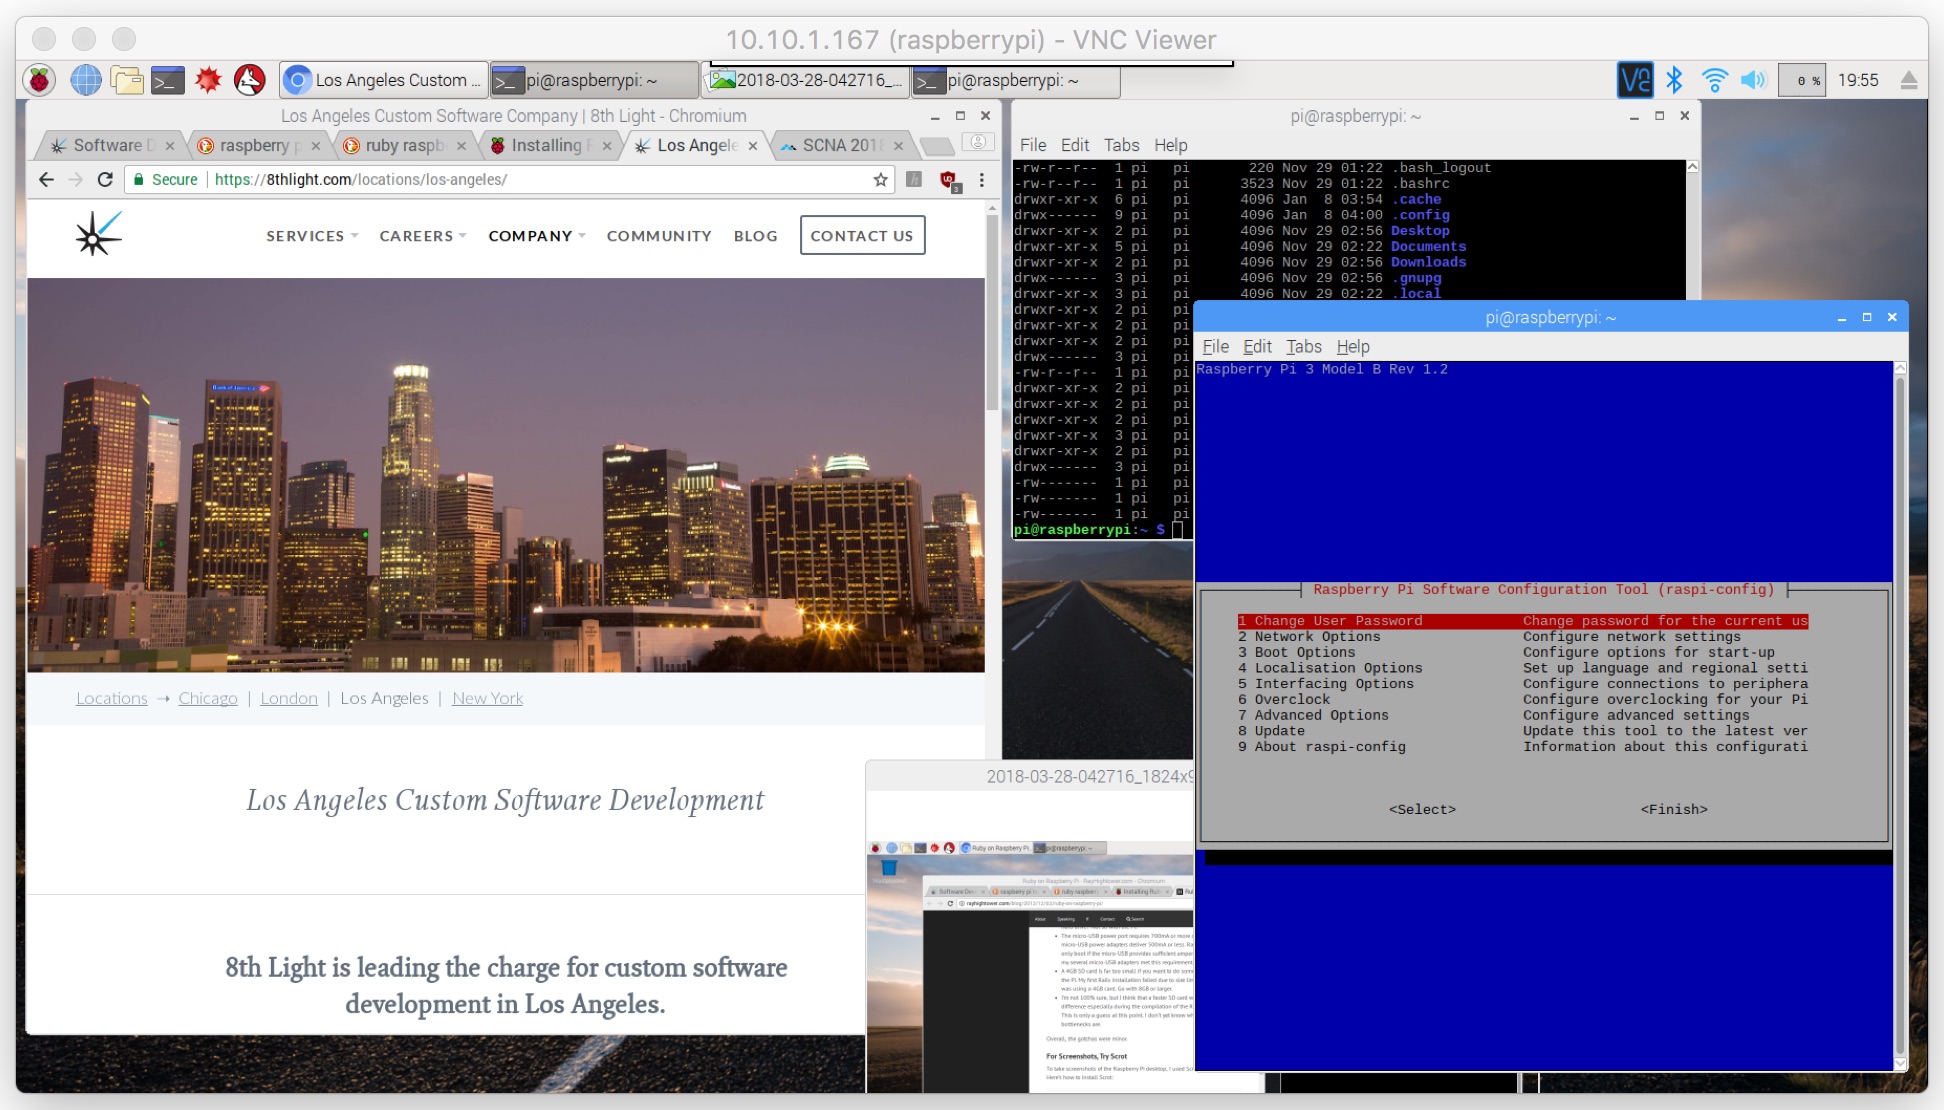
Next, you’ll need to enable the VNC Server on your Raspberry Pi. To do this, open the Raspberry Pi Configuration tool and navigate to the Interfaces tab. From there, select VNC and enable it. Once it’s enabled, your Raspberry Pi will be ready to accept remote connections.
It’s worth noting that the VNC Server comes pre-installed on Raspbian, so you don’t need to download anything extra. Just enable it, and you’re good to go. Easy peasy, right?
Step 3: Download VNC Viewer
Now that your Raspberry Pi is ready to accept remote connections, it’s time to download VNC Viewer on your client device. You can get it from the official VNC website, and it’s available for Windows, macOS, Linux, and even mobile devices. Once you’ve downloaded and installed it, you’ll be ready to connect to your Raspberry Pi.
When you open VNC Viewer, you’ll be prompted to enter the IP address of your Raspberry Pi. Make sure you’ve got the correct IP address, or you won’t be able to connect. If you’re not sure how to find it, don’t worry – we’ll cover that in the next section.
Finding Your Raspberry Pi’s IP Address
One of the most important steps in setting up Raspberry Pi IoT VNC Viewer free is finding your Raspberry Pi’s IP address. Without it, you won’t be able to connect to your Raspberry Pi remotely. Luckily, there are a few easy ways to find it.
Method 1: Check Your Router
One of the simplest ways to find your Raspberry Pi’s IP address is to check your router. Most routers have a web interface that lets you see all the devices connected to your network. Simply log in to your router and look for your Raspberry Pi in the list of connected devices. Its IP address should be listed right there.
Method 2: Use the Terminal
If you prefer a more hands-on approach, you can use the terminal on your Raspberry Pi to find its IP address. Just open the terminal and type the following command:
hostname -I
This will display your Raspberry Pi’s IP address. Easy as pie, right?
Connecting to Your Raspberry Pi
Now that you’ve got everything set up, it’s time to connect to your Raspberry Pi using VNC Viewer. Simply open VNC Viewer on your client device and enter your Raspberry Pi’s IP address. If everything is set up correctly, you should see your Raspberry Pi’s desktop appear on your screen.
Troubleshooting Connection Issues
If you’re having trouble connecting to your Raspberry Pi, don’t panic. There are a few common issues that could be causing the problem. First, double-check that you’ve got the correct IP address. If that’s not the issue, make sure that the VNC Server is enabled on your Raspberry Pi. You should also check your firewall settings to make sure they’re not blocking the connection.
If you’re still having trouble, try restarting both your Raspberry Pi and your client device. Sometimes a simple reboot can fix a lot of problems. And if all else fails, consult the official VNC documentation for more help.
Using Raspberry Pi IoT VNC Viewer Free for Projects
Now that you’ve got Raspberry Pi IoT VNC Viewer free up and running, it’s time to start using it for some cool projects. Whether you’re building a smart home system, automating your garden, or creating a custom weather station, the possibilities are endless.
Project Idea 1: Smart Home Automation
One of the most popular uses for Raspberry Pi IoT is home automation. With VNC Viewer, you can control your smart home devices from anywhere in the world. Imagine being able to turn on your lights, adjust your thermostat, or even lock your doors with just a few clicks. It’s like having a personal butler, but better because it’s free!
Project Idea 2: Remote Monitoring
Another great use for Raspberry Pi IoT VNC Viewer free is remote monitoring. Whether you’re monitoring your home security system, tracking your pet’s activity, or keeping an eye on your garden, VNC Viewer makes it easy to do from anywhere. And because it’s free, you don’t have to worry about breaking the bank to get started.
Conclusion
There you have it, folks! Everything you need to know about Raspberry Pi IoT VNC Viewer free. From setting it up to using it for cool projects, this guide has got you covered every step of the way. So what are you waiting for? Get out there and start building your own IoT projects today!
Before you go, don’t forget to leave a comment and let me know what you think. And if you found this article helpful, be sure to share it with your friends and family. The more people who know about Raspberry Pi IoT VNC Viewer free, the better! Thanks for reading, and happy tinkering!
Table of Contents
Setting Up Raspberry Pi IoT VNC Viewer Free
Finding Your Raspberry Pi’s IP Address
Connecting to Your Raspberry Pi
Using Raspberry Pi IoT VNC Viewer Free for Projects
Subheadings


Detail Author:
- Name : Yadira Watsica
- Username : ajacobs
- Email : suzanne.reinger@toy.info
- Birthdate : 1971-06-30
- Address : 6265 Leonor Estate North Brent, ND 24893
- Phone : (820) 800-5124
- Company : Grady and Sons
- Job : Patternmaker
- Bio : Labore est itaque enim animi quidem recusandae quaerat. Repudiandae voluptas quaerat totam eius nemo nihil. Suscipit ipsum non aut et nemo soluta. Rerum ea et earum veniam non qui.
Socials
facebook:
- url : https://facebook.com/gregory.gerlach
- username : gregory.gerlach
- bio : Doloremque modi quo voluptas possimus omnis. Impedit earum cum esse ut sed.
- followers : 1539
- following : 755
tiktok:
- url : https://tiktok.com/@gregory_gerlach
- username : gregory_gerlach
- bio : Distinctio mollitia suscipit quisquam rerum et.
- followers : 5801
- following : 2021
twitter:
- url : https://twitter.com/gerlach2023
- username : gerlach2023
- bio : In sed non quia autem alias at doloribus. Inventore molestiae minus eum cumque. Vero molestias et repudiandae. Sunt error et ut distinctio neque qui modi.
- followers : 3264
- following : 659
